
Install the Account Editor app
Before you can start using the app, you'll need to install it from the Shopify App Store.
- Go to the Shopify App Store. In your browser, navigate to the Shopify App Store.
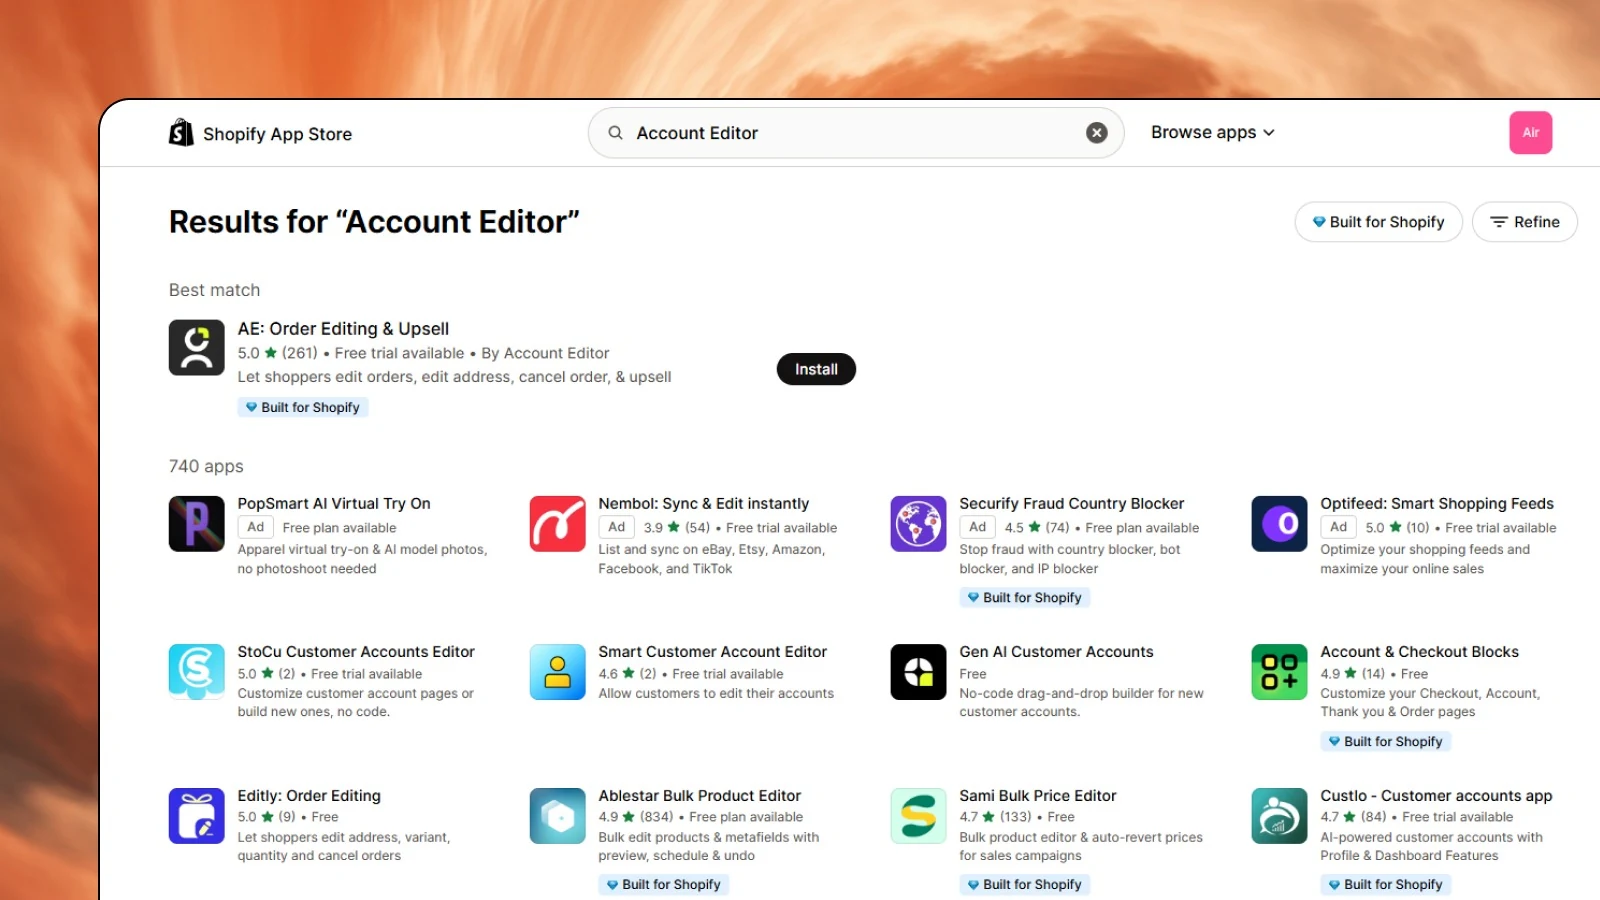
- Search for "Account Editor App". Use the search bar to find the Account Editor app.
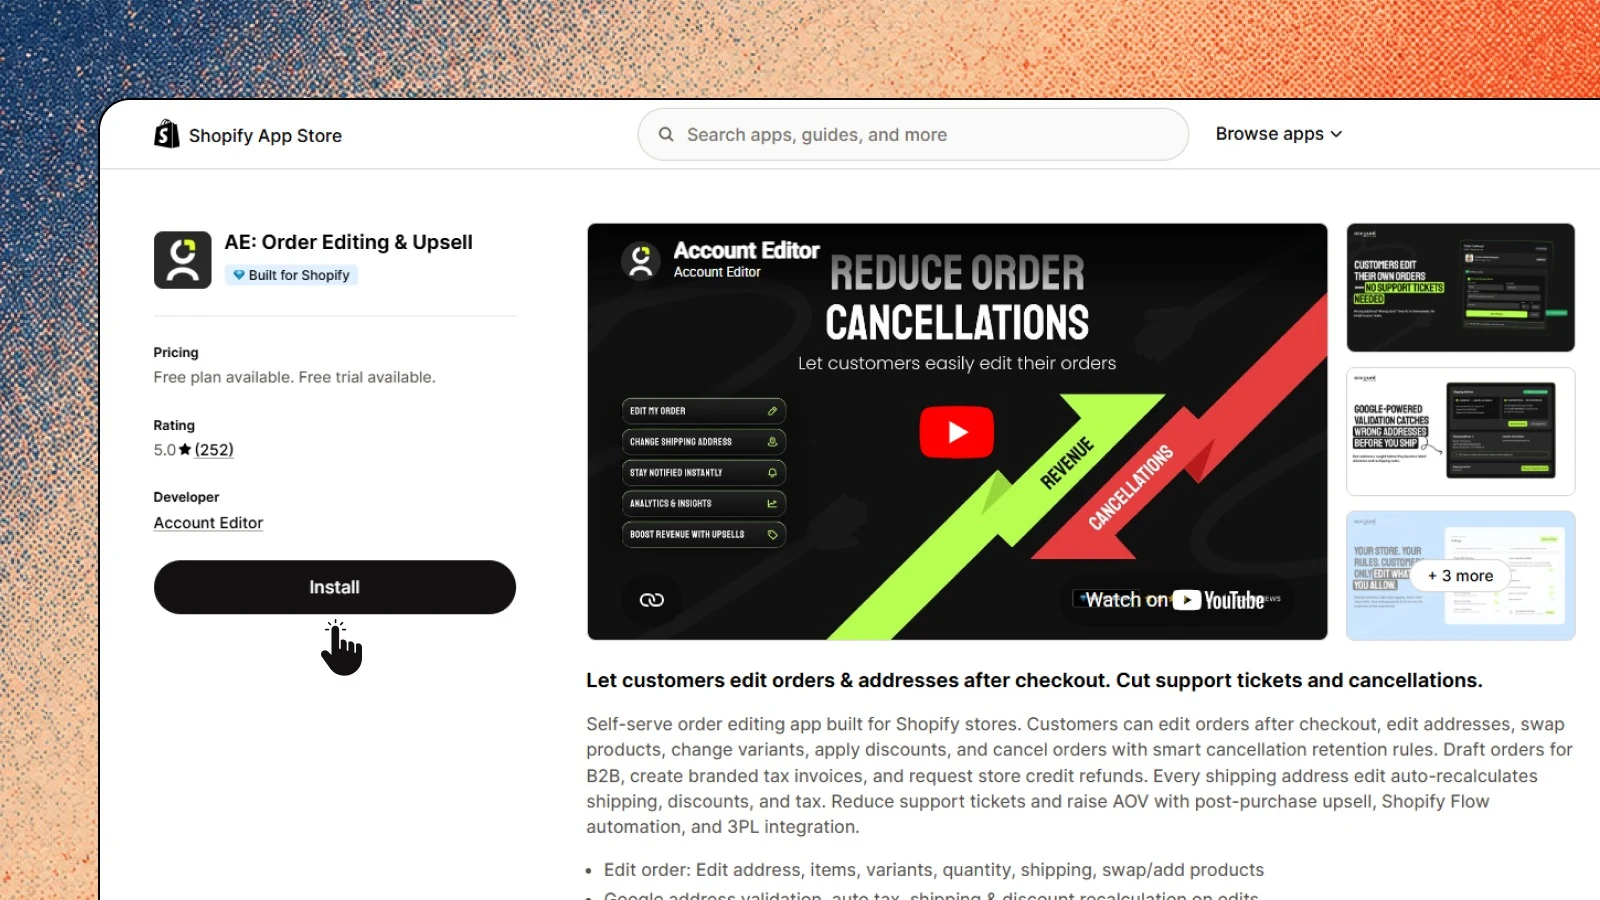
- Click the "Install App" button. On the app's page, click Install app to begin the installation process.
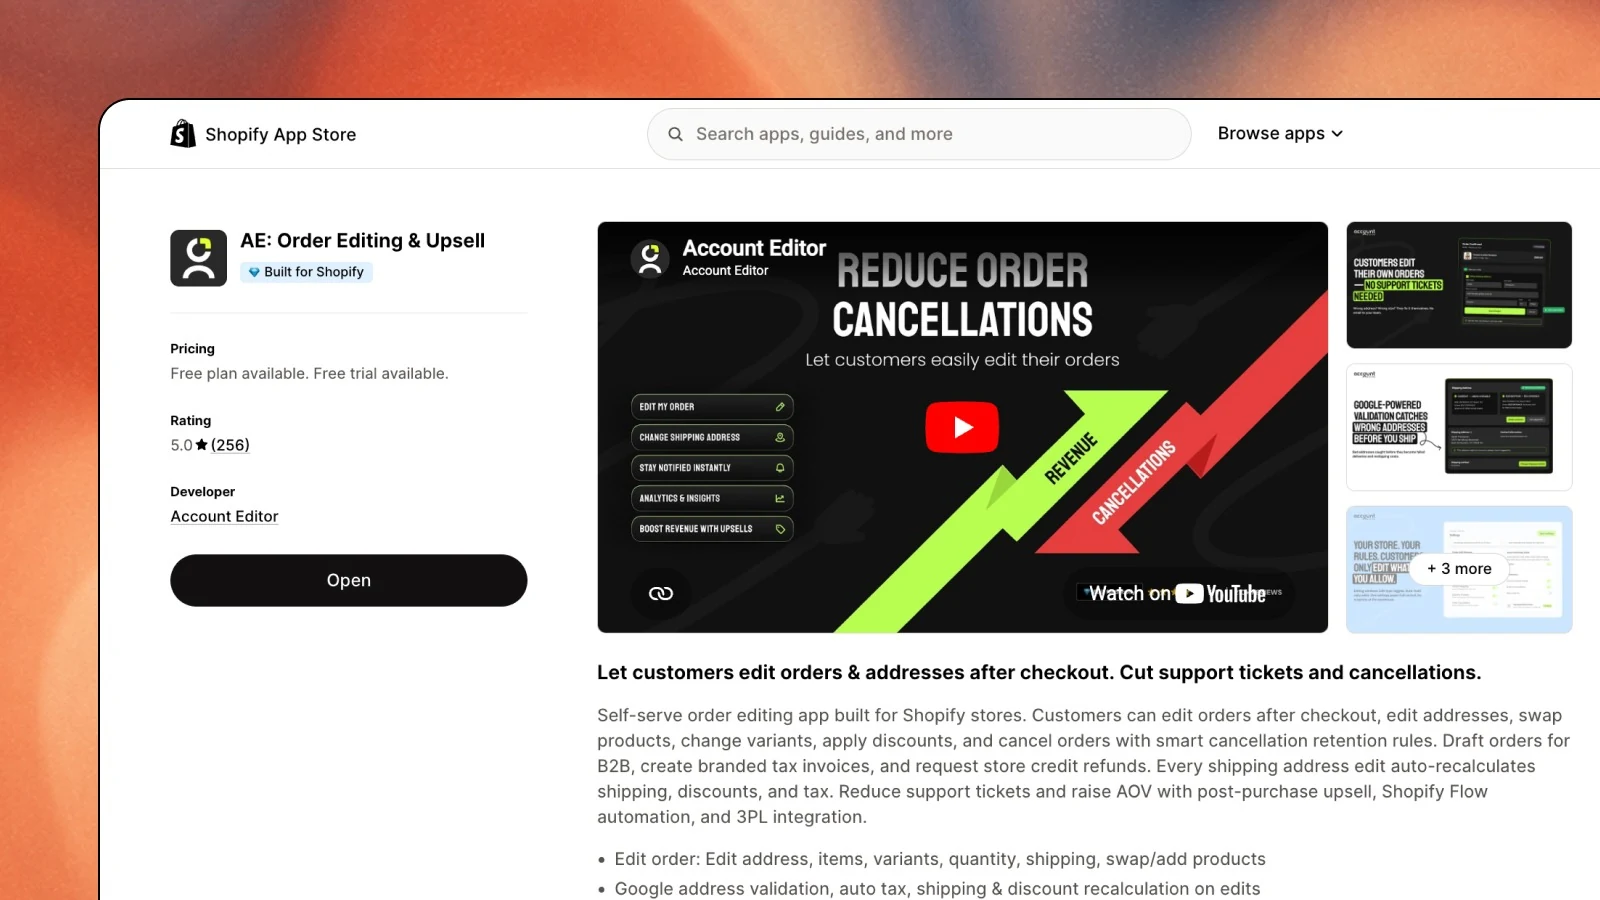
- Install the app on your Shopify store. Follow the prompts and confirm that you want to install the app on your store.
App configuration
Once the app is installed, you'll need to configure it to suit your store's needs. Here's how to get started:
Open the Account Editor app
After installation, you'll be directed to the app's Welcome screen through which you can select the language of the application and then get started with the application functionality. Alternatively, you can access the app at any time through your Shopify admin panel by navigating to Apps → Account Editor.
Set your editing window time
To define the period during which customers can edit their orders after purchase, go to Settings → Set Order Editing Rules.
- Edit timeframe settings (e.g., 10 minutes, 20 minutes, 1 hour) or set a custom duration.
- For example, you may want customers to edit their orders within 2 hours or 2 days of purchasing.
Set rules for order edits based on order status
You can control when customers are allowed to edit their orders based on the order's payment and fulfillment status.
- Fulfillment Status: Allow edits until the order is Fulfilled or Shipped.
- You can customize the components in which you decide which parts of the order customers can modify under Select Editable Component.
Turn editing on or off for specific sections such as:
- Contact Information (Email, Phone Number)
- Shipping Details (Address, Delivery Date)
- Order Items (Increase/Decrease Quantity, Change Variants, Add Items)
Order cancellation settings
Allows merchants to customize when and how customers can cancel their orders. Go to Settings → Manage Order Cancellation.
- Enable / Disable the feature by switching the toggle to ON or OFF to allow customers to cancel orders.
- Enable refund for cancellation. Choose your refund process — Store Credits or Direct Refund.
- Choose cancellation reason. Pick from a list of pre-defined reasons; merchants also have the option to add their own custom reasons.
Save settings and test
Once you've configured all settings, click Save to apply your changes.
Test the setup
Place a test order on your Shopify store and attempt to edit the order within the set timeframe.
Tip: Be sure to test different scenarios — editing contact information, adding items, and canceling orders — to make sure everything works smoothly.
Access support and troubleshooting
If you encounter any issues or need further assistance:
- Browse the Help Center. Step-by-step guides for order editing, upsells, Shopify Flow automation, and every 3PL/OMS/ERP connector — plus troubleshooting for the most common issues.
- Contact support. You can also reach out to our support team directly for help with setup or troubleshooting.
Account Editor Widget Installation Using App Block on Shopify
This guide will walk you through how to add the Account Editor Widget to both the Thank You Page and Order Status Page using App Blocks. This method allows you to integrate the widget without modifying Liquid code manually.
Install the Account Editor app
- Go to the Shopify App Store and install the Account Editor App.
- After installation, go to the Account Editor App dashboard from your Shopify Admin.
Add the Account Editor widget to the order status page
To add the Account Editor Widget to the Order Status Page using an App Block, follow these steps:
- Open the Account Editor app. From your Shopify Admin, go to Apps and select the Account Editor App from the installed apps list.
- Go to the Setup Guide. In the Account Editor App dashboard, find the Setup Guide section.
- Click "Enable App Block". Click the button labeled Enable App Block to activate the widget functionality.
- Click "Add App Block to the Order Status Page". From the options available, click Add App Block to the Order Status Page. This action will add the Account Editor Widget to the page where customers can view their order status.
- Click "Add App Block". Next, click the Add App Block button to finalize the integration.
- Save the changes. After adding the block, save the changes to apply the widget to your Order Status page.
- Test the Order Status Page. To test, send a test Order Confirmation email or view the Order Status Page by accessing a customer's order status. Ensure that the Account Editor Widget appears and functions properly.
Add the order editing widget to the Thank You page
If you'd like to add the widget to the Thank You Page, follow these similar steps:
- In the Account Editor App, go to the Setup Guide.
- Click Enable App Block.
- Select Add App Block to the Thank You Page.
- Click Add App Block to add the widget to the Thank You Page.
- Save the changes.
Customize the widget's appearance and settings
Once the widget is added, you can adjust its appearance and behavior:
- Go to the Widget Settings. In the Account Editor App dashboard, find the Widget Settings section.
- Modify the text and design. Customize the widget's colors, text, and button style to match your store's branding.
- Configure widget behavior. Adjust settings for when and how the widget displays (e.g., auto-load, customer interactions).
- Save the settings. After customization, click Save to apply the changes.
Test everything
- Test the Widget on the Thank You Page. Complete a test order and check the Thank You Page after purchase. Verify that the Order Editing Widget appears and functions correctly.
- Test the Widget on the Order Status Page. Send a test Order Confirmation email to verify that the widget appears on the Order Status Page.
- Test widget features. Test various features of the widget (e.g., editing items, changing shipping info) to ensure it works as expected.
You're live.
Most stores complete this setup in under 10 minutes. If anything looks off, our team is one click away.